One of the first sites I found when becoming interested in electronics, robotics, and otherwise “making” things was www.ladyada.net, the website/blog of Limor Fried, otherwise known as Lady Ada. She has a number of projects that she has designed and developed into kits, the Minty Boost being one of them.
I chose to purchase the Minty Boost kit from her store at adafruit.com for two reasons.
1) Because it is considered to be a beginner’s level kit.
2) Because I always seem to let my phone battery get very low with no way to charge it.
In other words, it would be a useful device to have!
Here is a link to the official tutorial for building the kit. I used it and it was very easy to follow. To see if your phone is compatible with the Minty Boost version 3.0, check out the list here. I have a Samsung Galaxy S3 and thankfully it is compatible.
The directions in the tutorial are very straightforward and easy to follow. I did have a problem in that when I went to place R3 in it’s place there was solder in one of the holes. I don’t know how it got there but I can imagine that I did it by accident. I did not have a de-soldering gun or a solder sucker at the time so I tried a couple of methods to remove the solder, neither of which worked for me. I went ahead and placed the rest of the parts until I got to the IC socket. I then decided to call it a day on the project until I had a tool that would allow me to remove that pesky solder from the hole.
I bought some de-soldering wick, which is basically a thin copper braid, to remove the solder from that hole. It took longer than I expected and I believe I will also get a solder sucker in the future. Finally, I was able to finish the project. If you decide to assemble this kit you will definitely need tin snips or something similar to cut the hole in the tin box for the USB port.
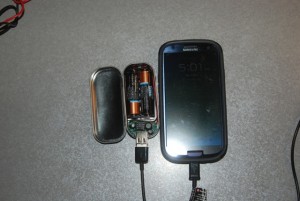
Once it was assembled I tested with my phone and lo and behold, it worked like charm.
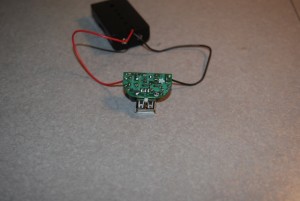
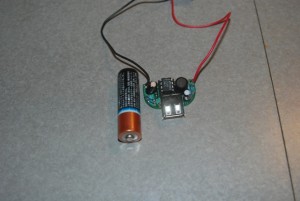
Here is the kit assembled looking at it from the bottom. Note that when soldering into a printed circuit board (PCB) with connections that are close together, you should use a thin soldering iron tip and a smaller gauge of solder. I used what I had on hand, which was a .050 diameter solder and a standard tip. I ended up having to remove solder a couple of times when adjacent connections had too much solder and I wanted to avoid a short circuit between solder points.
All in all I enjoyed putting this kit together. It was quick, fun, and the end result is a charger that I can take with me anywhere. Thanks to the folks at AdaFruit!


2 comments
Hi – I want to get a MintyBoost, and I have an S3.
How much charge can it get out of 2 AAs? One entire recharge? More? Less?
Thanks, Richard
Hi Richard,
I’ve not had to fully charge my S3 yet so I cannot tell you from first hand knowledge. However, here is a brief excerpt from Lady Ada’s blog on the FAQ page.
There is also a detailed analysis in the user manual.