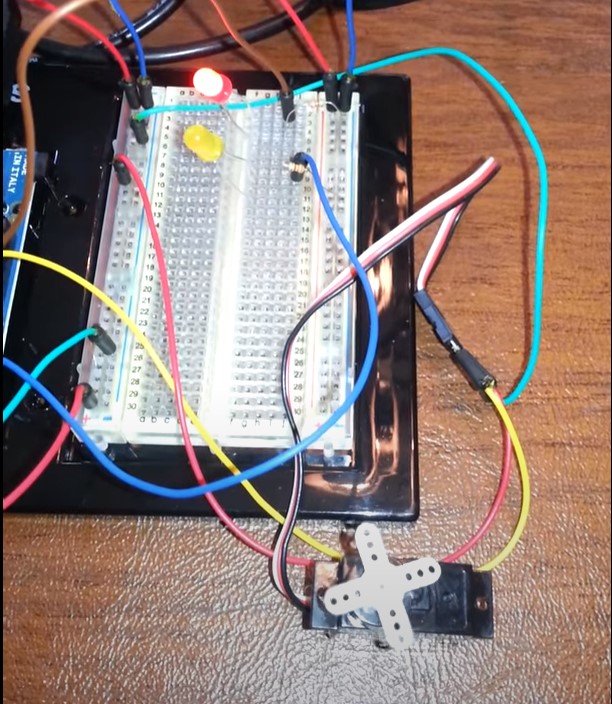
I was playing around today with my Arduino, running the tutorial for controlling a servo motor. I decided to make it a little more interesting by adding a couple of LEDs. The tutorial uses PWM (pulse width modulation) to control the rotation of the servo motor. It starts at the 0 position and rotates it 180 degrees, one degree at a time. Once it reaches the 180 degree mark it reverses the rotation and brings it back to the 0 mark. Simple enough, right?
I wanted to add a little something to monitor the progress of the rotation each way so as I mentioned before, I added two LEDs. The yellow LED gets increasingly brighter as the servo motor rotates from 0 – 180 degrees. Then it is turned off and the red LED comes on at full brightness and then decreases in brightness as the servo motor rotates from 180 – 0 degrees. Nothing complicated, but simply a learning experience. The code and a quick demo video are below.
#include
Servo myServo;
int pos = 0;
int redLedPin = 5;
int yellowLedPin = 3;

void setup(){
    myServo.attach(9);
    pinMode(redLedPin, OUTPUT);
    pinMode(yellowLedPin, OUTPUT);
}

void loop(){
    for(pos = 0; pos < 180; pos++){
        myServo.write(pos);
        runYellow(pos);
        delay(10);
    }
    for(pos = 180; pos > 0; pos--){
        myServo.write(pos);
        runRed(pos);
        delay(10);
    }

void runRed(int val){
    analogWrite(yellowLedPin, 0);
    analogWrite(redLedPin, val);
}

void runYellow(int val){
    analogWrite(redLedPin, 0);
    analogWrite(yellowLedPin, val);
}


1 comment
[…] my last post I looked at using a servo motor with an Arduino and a couple of LED lights to indicate when it would rotate clockwise vs. counter-clockwise. In […]