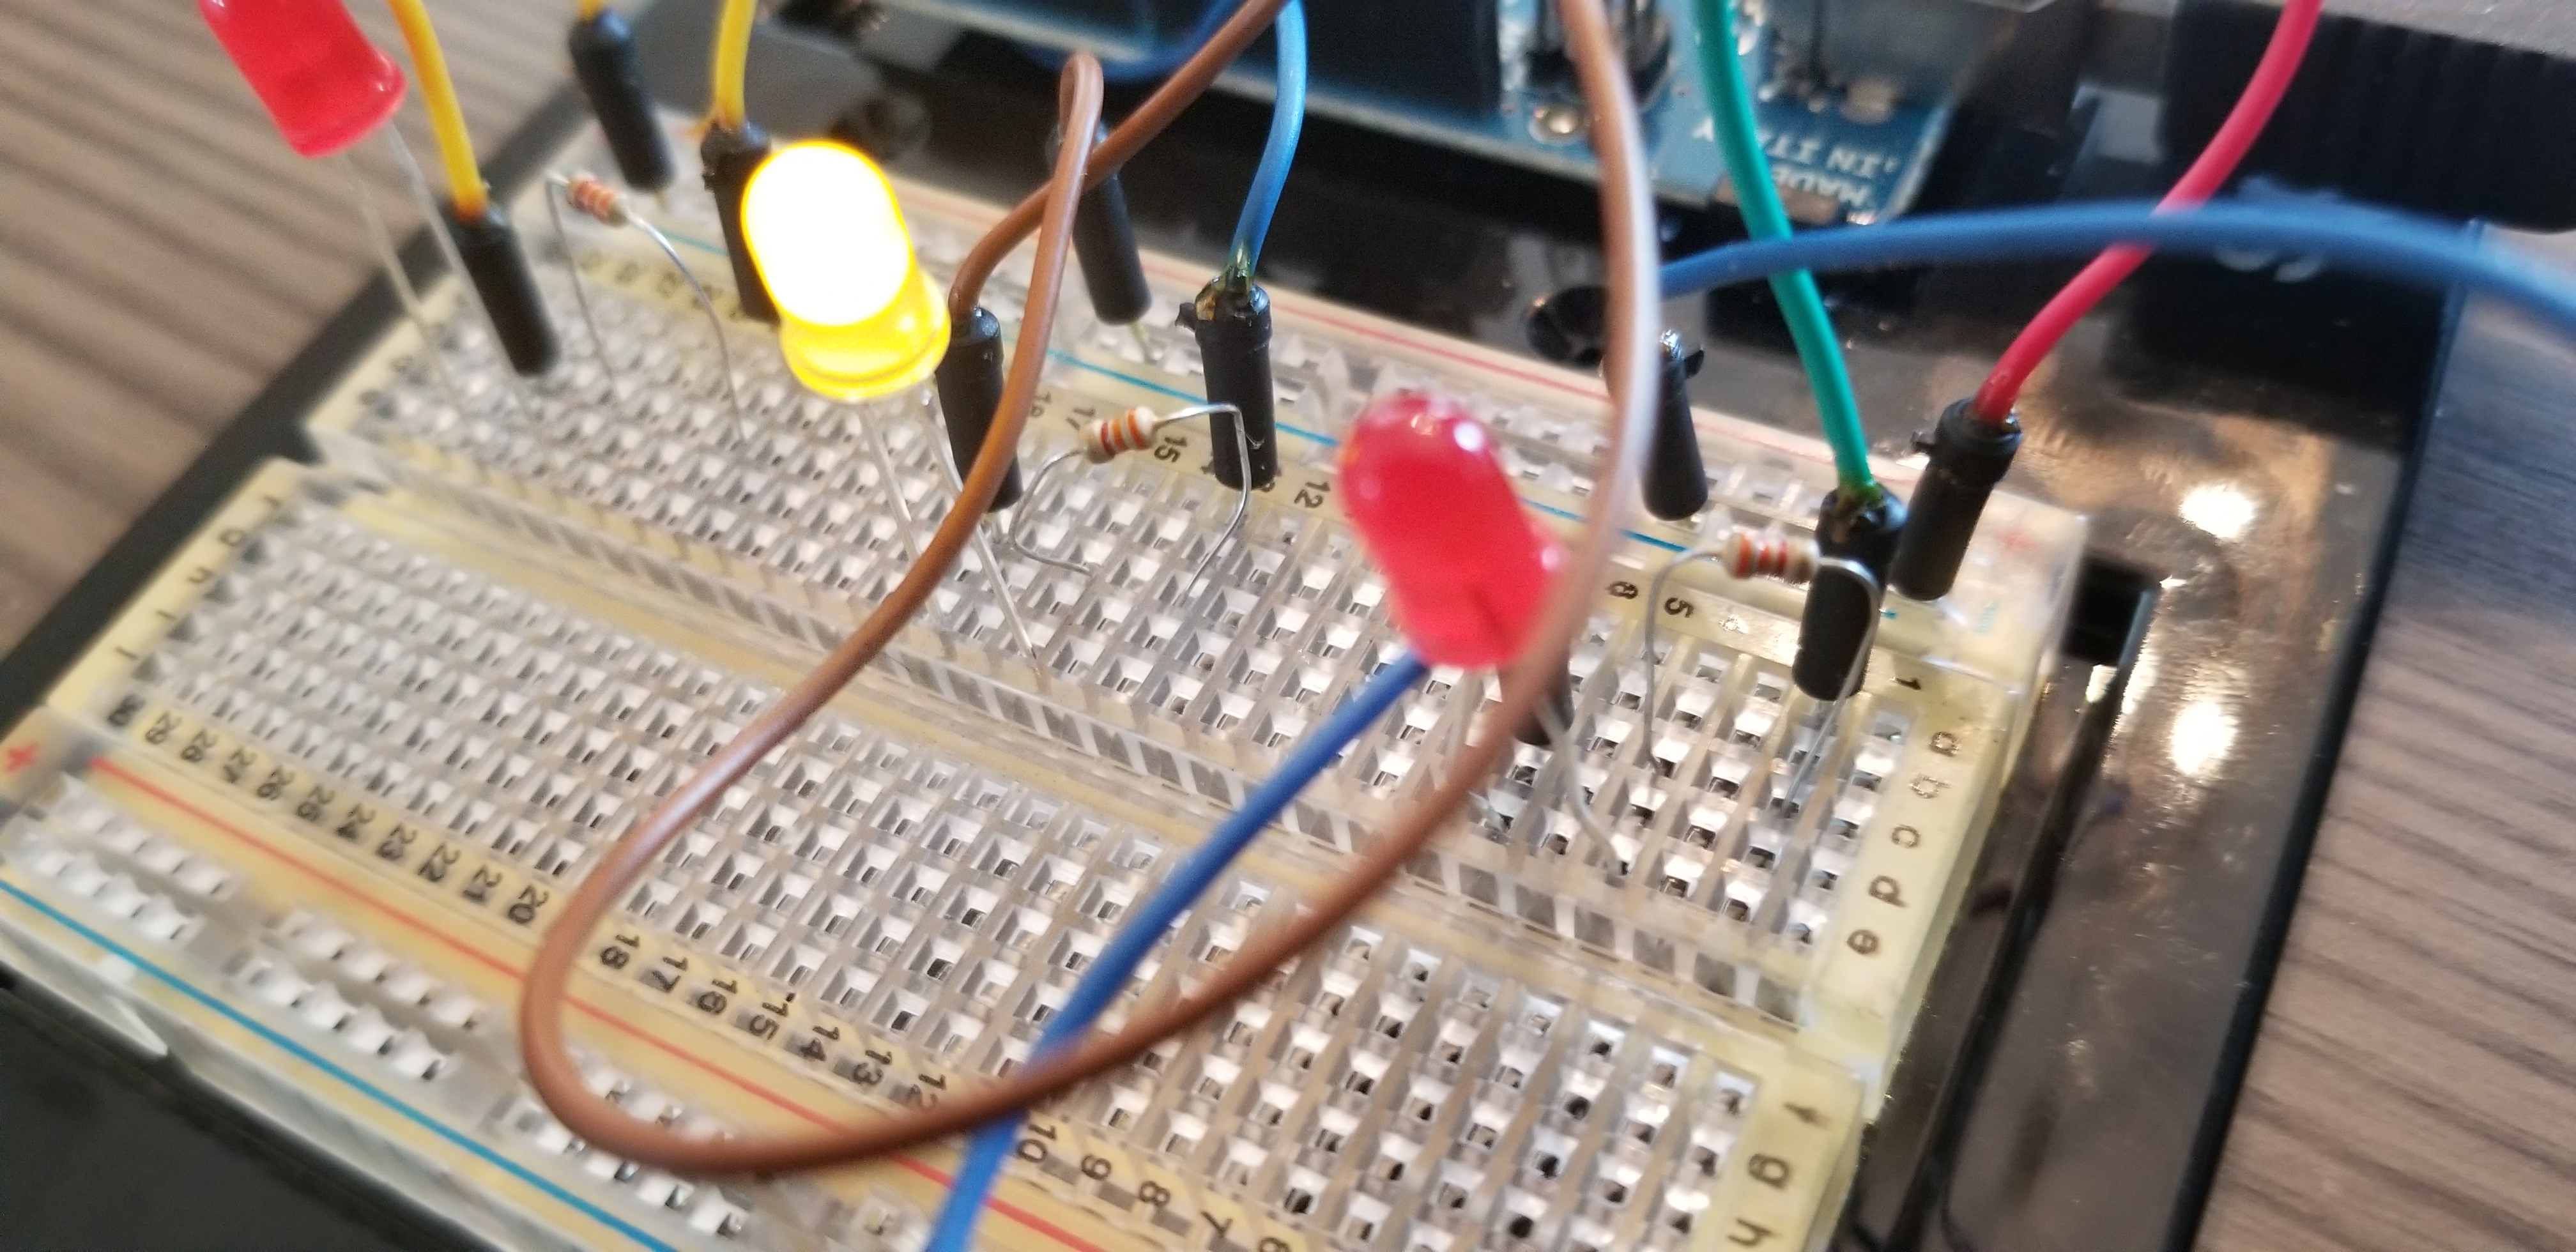
In our last lesson, we set up three LEDs and wrote code to blink them on and off, using variables to represent the different digital pins. We basically copied and pasted the code in order to blink an LED the number of times we wanted. Today, we are going to make the code smaller and more efficient by writing our own function, similar to the setup() and loop() functions we’ve already seen.
Typically, when I’m writing code for web applications I’m using my laptop with lots of memory and storage space. The applications are then used on servers with even more memory and storage, so I don’t worry too much about how much those factors in my code. That being said, I do want my code to be efficient and to run quickly. However, the Arduino is a small board with limited storage and memory. So every line of code counts when you’re writing programs that can approach your upper limits.
One way to reduce the amount of code is to move repeated functionality into functions that can be called multiple times. For example, if you were writing code to calculate the area of a rectangle, and you knew that you would be calculating different lengths and widths, you would want to write a function that can be called over and over again, using different parameters, but making the same calculation. Here is an example of how that function might look:
int calculateRectangleArea(int width, int length){
return width * width;
}
Then, whenever you needed to calculate the area, you could call calculateRectangleArea(4, 5); and get back the number 20, and later pass 5 and 6 to get back 30. Got it?
Something else we cover in this lesson is the “for()” loop. When you need to repeat the same code over and over for a certain number of times, you can use a “for” loop to do that. For example, if I want to blink an LED 10 times, I can actually write a loop that will do that for me. There are multiple ways to use a “for” loop and here we will use the most common one.
int myCount = 10;
for(int counter = 0; counter < myCount; counter++){
    // Code to blink the LED
}
In the code above we set a variable “myCount” to 10. This is the number of times we want the LED to blink. Inside the “for” section we are setting the variable “counter” to 0. The next piece says that we want to run this code for as long as the value for “counter” is less than the value for myCount. The third piece, “counter++” will add the number 1 to the value of “counter” each time the code in the braces runs. So, the first time we run it counter = 0, the next time the loop runs counter = 1, and so on. For all of these loops, “counter” is still less than “myCount”, which is 10. However, since we add 1 to “counter” each time, eventually “counter” will be 10. Now, “counter” is no longer less than “myCount” as 10 is not less than 10, they’re equal. So the “for” loop will stop running and the program will continue. Okay, let’s take a look at the changes to our Blink Some More code from Lesson 2.
int redLED1 = 13;
 int yellowLED = 12;
 int redLED2 = 11;
 // the setup function runs once when you press reset or power the board
 void setup() {
   // initialize digital pin LED_BUILTIN as an output.
   pinMode(redLED1, OUTPUT);
   pinMode(yellowLED, OUTPUT);
   pinMode(redLED2, OUTPUT);
 }
 // the loop function runs over and over again forever
 void loop() {
   // red 1 blink 3 times
   blinkLED(3, redLED1, 500, 500);
 // yellow blink 2 times
   blinkLED(2, yellowLED, 1000, 1000);
 // red 2 blink 5 times
   blinkLED(5, redLED2, 500, 500);
 }
 void blinkLED(int timesToBlink, int pin, int delayOn, int delayOff){
   for(int counter = 0; counter < timesToBlink; counter++){
    digitalWrite(pin, HIGH);
    delay(delayOn);
    digitalWrite(pin, LOW);
    delay(delayOff);
   }
 }
In the new code, we now have a function called blinkLED. This function takes 4 parameters, timesToBlink, pin, delayOn, and delayOff. Inside the function, we have “for” loop. Inside the “for” loop, we see that familiar code that we’ve used before to turn a LED on for a certain period of time, and then off for a period of time.
What will happen is that the “for” loop will run the number of times that is passed in the timesToBlink parameter. We will call digitalWrite on the digital pin passed in as the “pin” parameter, it will stay on for the number of milliseconds passed in the “delayOn” parameter, and it will be off for the number of milliseconds passed in the “delayOff” parameter. Cool, huh?
Now, in the “loop” function, we simply write one line for each LED. For the first one we call: blinkLED(3, redLED1, 500, 500); This will cause redLED1 to blink 3 times, with a delay of a half-second on and a half-second off. Then we do the same for the yellow LED and for the second red LED, each with different parameters.
Go ahead and try the code as-is. Then make changes to the code that calls the new function. Try to blink all three LEDs once each, for one second each. Have fun!
Resources
Previous Lesson: Arduino Lesson 2 – Blink Some More
Next Lesson: Arduino Lesson 4 – Analog Write and Serial Plotter

